It seems like a million years ago now that Mark and I hooked up the wee little 300W PV system for basic operations when we first arrived on-site in June. Ben and I made a few little upgrades over the summer to include adding a 4th panel, switching to a more robust charge controller for future growth, and adding both a remote inverter start and Ethernet communications port for the charge controller. All of this was fine and dandy for the past few months, but we needed to give the array a boost for winter. Below are the progress photos so you can see more about our shoot-from-the-hip PV facelift.


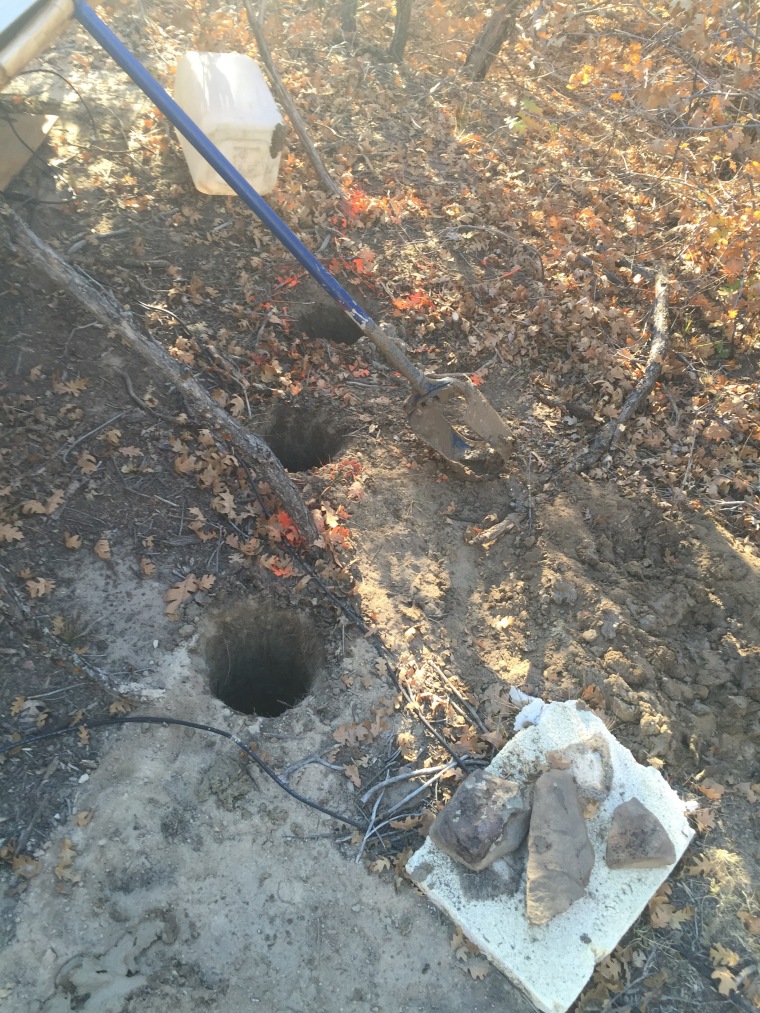


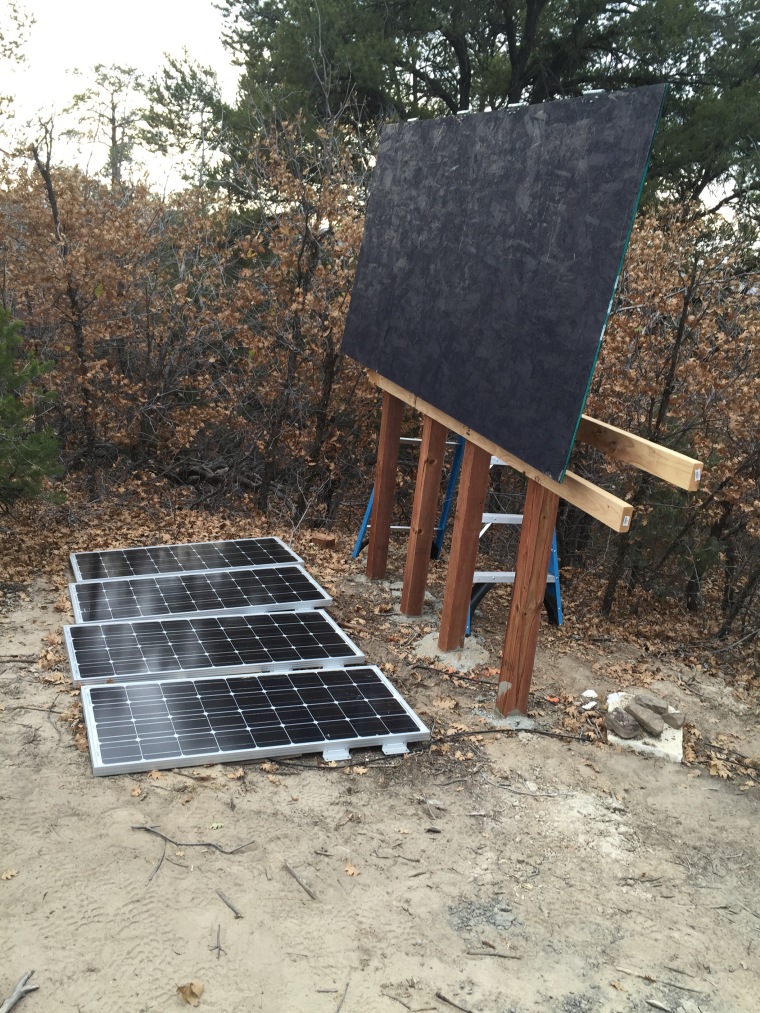
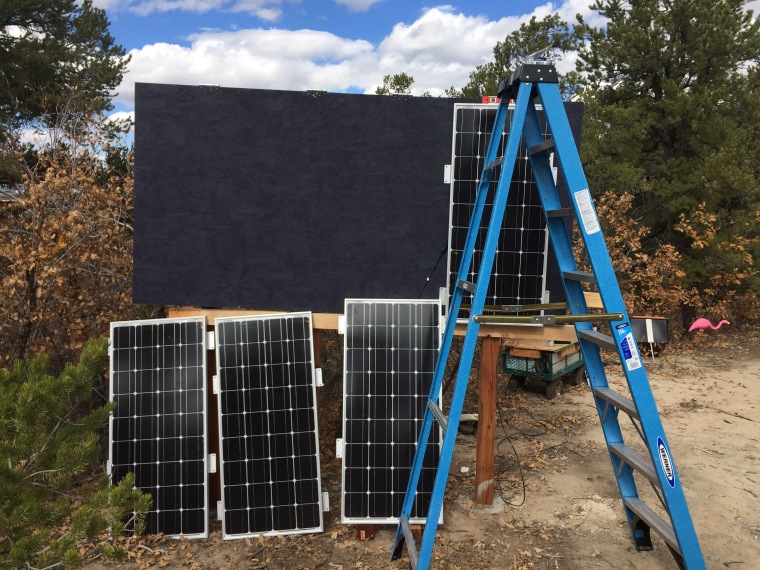
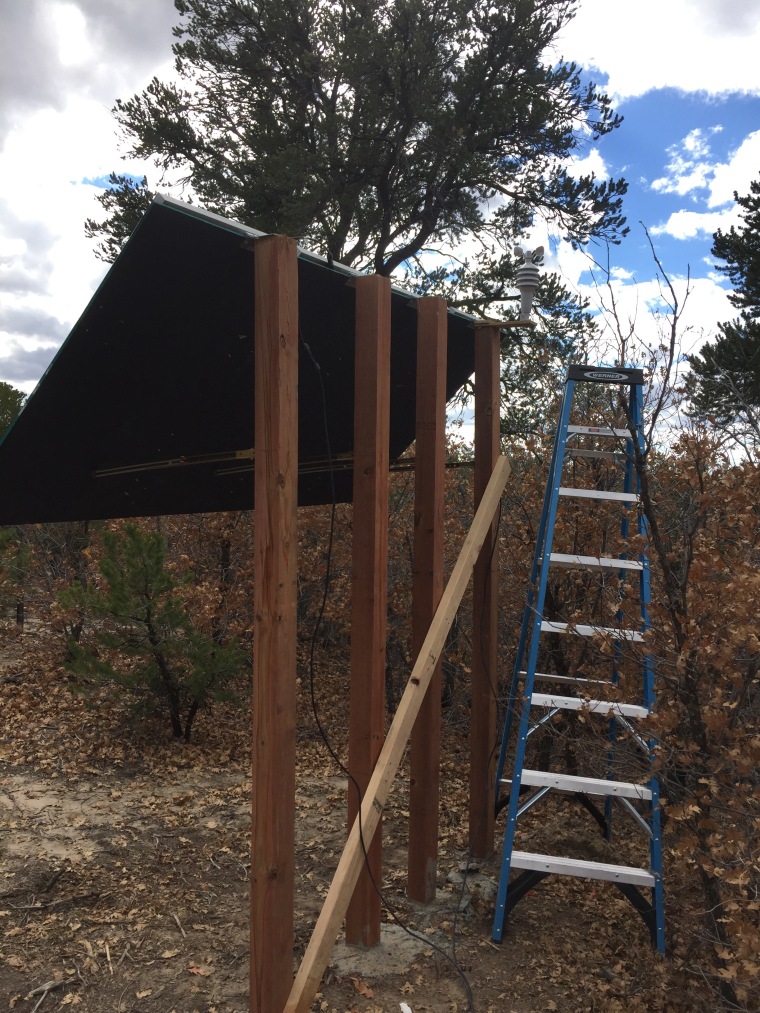
Adjustable table legs for angle supports for version 2.0.
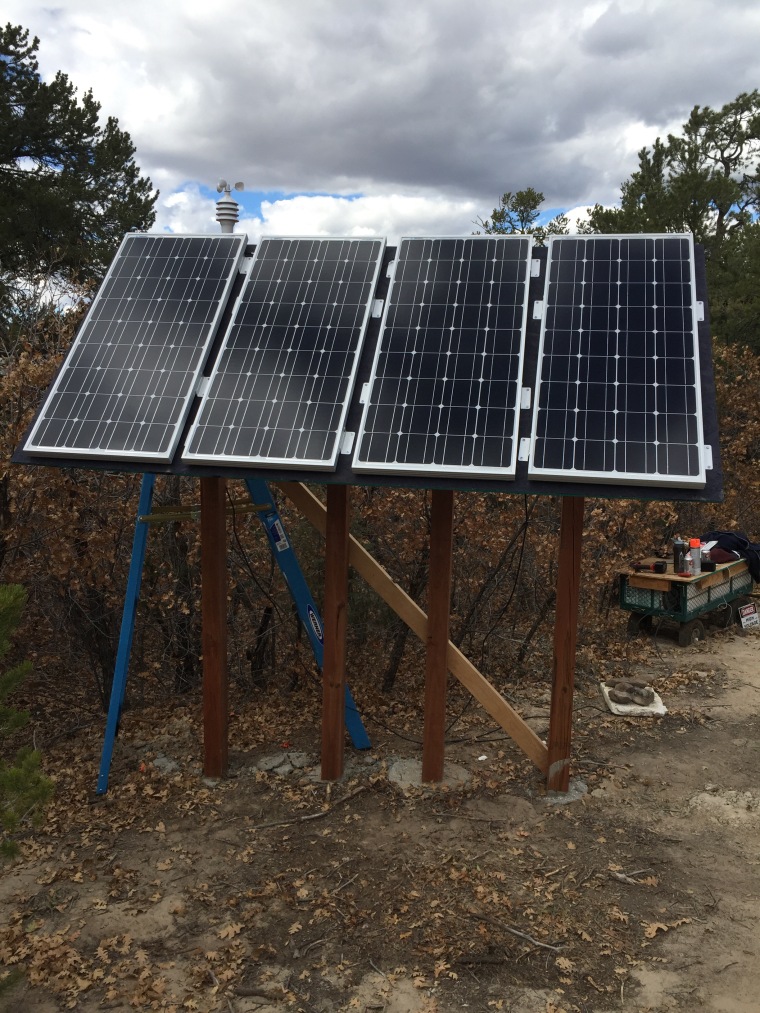
Altogether, complete with weather station, safety placard coming soon.
This new rig will put the panels up high enough to avoid being blocked by snow accumulation (we hope), and the adjustable tilt will give us more seasonal control to harvest even more power. It didn’t take very long, and our total budget was close to $100. Again, we aren’t perfect and made plenty of mistakes along the way, but the outcome of this little project is so very gratifying. There is a great sense of accomplishment and satisfaction when you can take an idea from your head and make it into reality. If you are looking ahead to building something new for yourself and you aren’t sure how it will turn out because you’ve never done that type of thing before, just go for it!! It may not be pretty and it may be kinda painful at times, but you will grow and learn and come out better for trying. We call that the ‘Sahalee Way’ around here. Feel free to ask questions in the comments below about this project or anything else you read here, and THANK YOU for following!!

Awesome !
Thank you so much, Misty!! 😀 Having good power keeps us blogging! Xoxo
You all ROCK! Glad to see you are doing well.
Hi KC–We started with this starter kit from Renogy http://amzn.to/2efoOlX (this isn’t the exact same kit–ours came with a total of 3 panels, and included the inverter also) but then added some more panels to fit our needs as well as an upgraded charge Controller to handle the increased power flow. We are currently using 4 batteries that all total cost ~$900 We have a Charge Controller from Morningstar Corporation that is doing great for us and ran ~$500. The starter kit that we got come with 3 panels and a charge controller and all the cables necessary for ~$700, the additional panel we bought to bring us to 400 watts was about ~$130. Unfortunately the Charge controller that came with the starter pack couldn’t handle the increased load with the extra panel, that is why we had to spend the additional funds on the new Charge Controller. So all told we are at about ~$2000 dollars in solar–now we did spend more money than we probably needed to on the upgraded Charge Controller because some of the features it has will help us minimize our power loss due to the cold weather and it also has logging capabilities so we can track our performance/efficiency and we can also add more panels to our current Charge Controller without worrying about needing to upgrade again. I know–long–winded answer for a short question.but I hope this answers it, and don’t hesitate to let us know if you would like more info…
Approximate cost per solar panel?
However the pre-celebratory beers were the ones that made it happen!!
We support renewable and sustainable energy at a reasonable cost for all.
And for those readers in Florida, please vote “NO” on Amendment 1. It is a scam by the power companies.
Power to the people!!! I like the celebratory beer in hand.